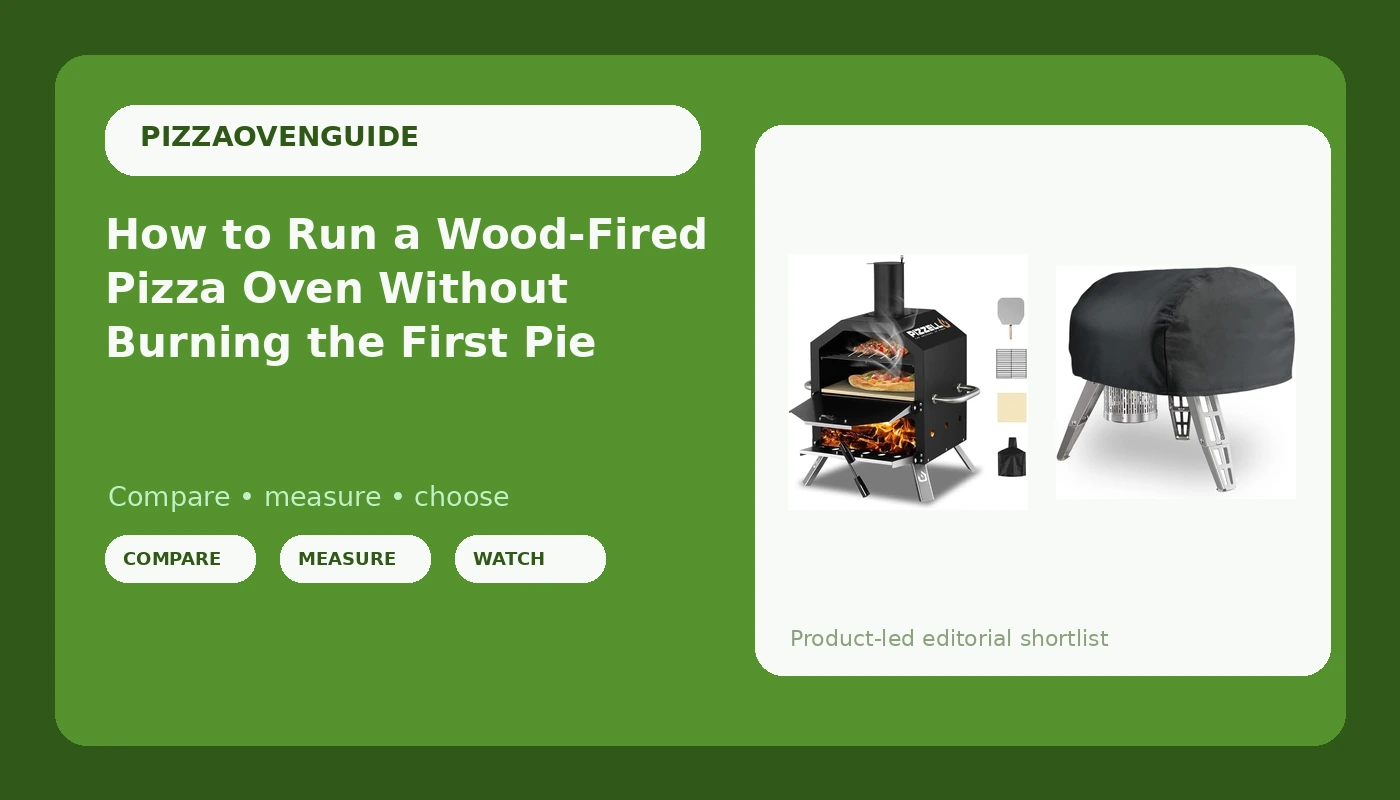
A wood fired pizza oven is a heat machine, and most first-pie disasters are not the oven's fault. They are a cold stone, a dough with too much water in it, and a cook who starts the fire before the peel is loaded. Fix those three things and a modest backyard oven will beat an expensive one that never got a real preheat.
I spent five years working the oven at a Neapolitan pizzeria before I moved into food writing, and I have cooked through eight home pizza ovens in the past three years, from a $60 countertop box to a $900 wood-fired dome. Same scorecard every time: char, leoparding, rim rise, bottom crisp. And the same pattern holds in every one of them. Pie one is a rehearsal you usually fail. Pie two is the real review.
So this is a how-to, not a shootout. Two pieces of gear appear below because they cover the two things a wood fired pizza oven needs on day one: a box to cook in, and something to keep the weather out of it when the night is over. The rest is technique, and the technique is where the good pies live.
Why you should trust me
I worked a Neapolitan line for five years, hand-stretching dough for a dinner service that ran 140 pies a night, and I have been the person responsible for keeping a stone at temperature through a rush. Since then I have tested eight home pizza ovens across three years and I keep a crust scorecard on all of them. Char, leoparding, rim rise, bottom crisp, photographed and dated.
That background taught me the thing most buying advice gets backward. A pizza oven is judged by its temperature range and how long it holds that range, not by its shape or its styling. A 12-inch oven that genuinely holds 900F will outbake a 16-inch oven that struggles to stay past 700F. Everything else, the dough, the sauce, the cheese, is just there to not get in the way.
I also have a working rule I don't break. I won't tell you an oven hits a number unless I've read it off an infrared thermometer at the center of the stone. Box copy is marketing. Stone temp is physics.
How I picked and how I tested
Honest scope note first, because you deserve it: I have not cooked in either of the two products below. Nothing in this article comes from a hands-on bake session in these specific units, and I'm not going to pretend otherwise. What I did was compare both against the pattern I know from ovens I have cooked in, and against what the listings actually say they include. Where a number can't be verified, I say so.
When I evaluate a wood-fired box in this class, four things decide it for me:
- Stone diameter against the oven mouth. If the stone is small and the mouth is wide, you lose heat every time you open it. A 12-inch stone with a tight opening holds better than a 14-inch stone you can't shield.
- Thermal mass. Thicker stone, slower recovery between pies. Thin stone heats fast and dies fast. For a two-pizza dinner either works. For six pies with friends standing around, mass wins.
- Fuel access. Can you add a split without dragging the whole pie out of position? On a small wood unit you need to be able to reach the fire box with tongs and a gloved hand.
- What's in the box. A peel, a stone, and a cover included is real money you don't spend separately, and it's the difference between cooking tonight and cooking next weekend.
The two picks below cover the cooking and the storing. That's the whole kit. If you already own a peel and an infrared thermometer, you can skip most of the accessory aisle, because half of what's sold there is a solution to a problem you don't have yet.
The setup kit for a wood fired pizza oven
Before the first fire, get both of these in hand. You cannot preheat a stone you don't own, and you cannot leave a wood-fired box outside uncovered through a New Jersey October without paying for it in rust.
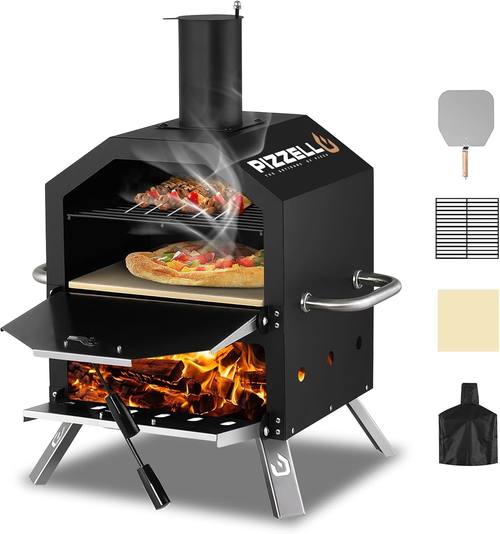
The oven: Pizzello Outdoor Pizza Oven Wood Fired 2-Layer Pizza Ovens Outside Pizza Maker with Stone, Pizza Peel, Cover,Removable Cooking Rack for Camping Backyard BBQ (Black)
 Visit on Amazon →
Check current Amazon price for the latest number.
This is the one that gets you cooking on day one, and the reason is in the packing list rather than the styling. The listing includes a stone, a peel, a cover, and a removable cooking rack, which means you are not making three separate orders before your first pie. For a backyard, a campsite, or a tailgate, that matters more than any spec sheet bragging.
The two-layer body is the design detail worth understanding. A double-wall build is there to slow heat loss, and slow heat loss is the whole game in a small wood-fired oven. The removable cooking rack is the other useful piece. Ash and burnt flour collect underneath a stone, and being able to lift the rack out and brush the box clean is the difference between an oven you keep for years and one that smells like old smoke by August.
Flaws but not dealbreakers: Wood-fired boxes in this size need babysitting. You will be adding fuel and turning pies rather than walking away, and the recovery between pies is slower than on a gas unit with a big stone. That is the trade for cooking over actual flame.
Who it's for: Anyone who wants to learn fire management on a real wood oven without spending restaurant-equipment money, and anyone cooking for two to four people in a backyard, on a patio, or at a campsite.
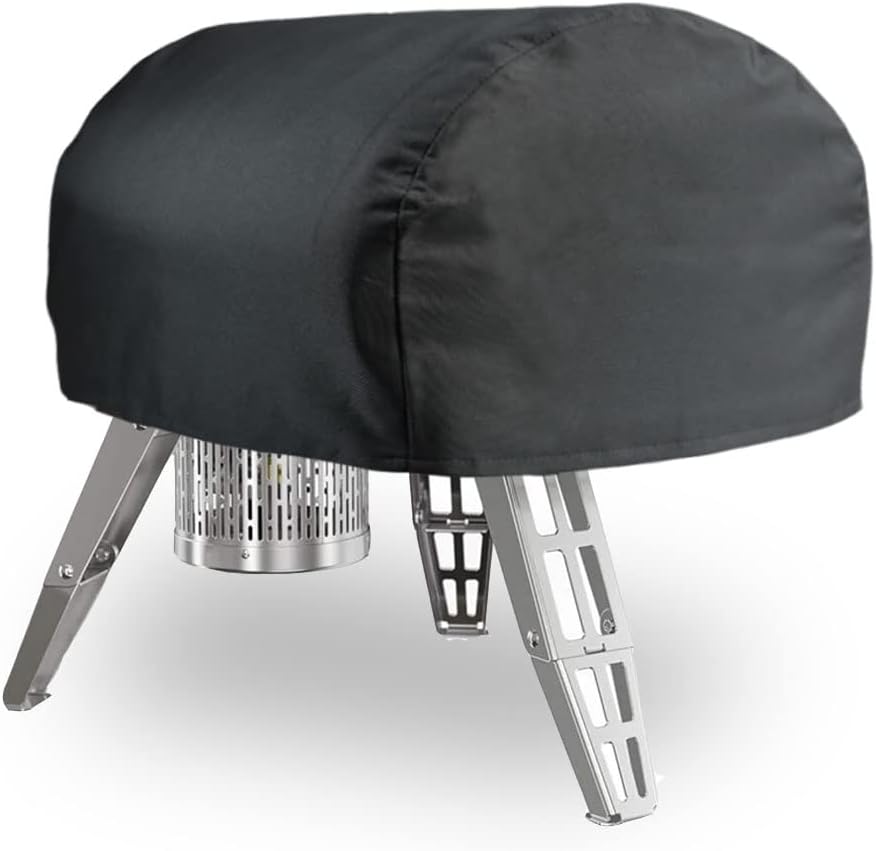
The cover: ZJYWSCH Pizza Oven Cover for Gozney Roccbox Portable Pizza Oven Waterproof Roccbox Outdoor Wood and Gas Pizza Oven Cover Heavy Duty
 Visit on Amazon →
Check current Amazon price for the latest number.
Straight talk on fit, because this is the part people get wrong. This cover is cut for the Gozney Roccbox, a specific portable oven shape. It is not a universal tarp for any pizza box on the market. If you own a Roccbox, or an oven with a similar compact footprint, this is the heavy-duty, waterproof layer you want on it between cooks. If you own something with a different profile, measure before you buy, and expect to shop for a cover sized to your oven instead.
Why a cover belongs in a how-to about cooking: moisture is what kills small ovens. Rain gets into the fire box, sits on the stone, and works on the cooking rack and the metal edges all winter. A waterproof cover costs less than replacing a stone, and it takes ten seconds to put on once the oven is fully cool.
Flaws but not dealbreakers: One shape, one size. There is no adjusting it to fit a wider or taller oven, so treat the fit as a hard requirement rather than a preference.
Who it's for: Roccbox owners and owners of similarly compact portable ovens who leave their oven outside between bakes.
The actual workflow: cold oven to second pie
Now the sequence. This is what I'd run on any small wood-fired box, and it's the order that saves you from a burnt first pie and a soggy second one.
Step one: the burn-off fire. Before any food touches the stone, run a hot fire for 20 to 30 minutes with nothing in the oven. Manufacturing oils and coatings need to burn off, and the smell will tell you when they're gone. Do this outside, away from anything flammable, and do not cook on this fire. Nobody eats the first fire.
Step two: bring the stone up slowly. A cold stone hit with a roaring fire can crack from thermal shock, especially in cold weather. Start with a small fire, let the stone come up gradually, then build to full heat. Patience in this step is cheaper than a replacement stone.
Step three: fuel, and only one kind of fuel. Kiln-dried hardwood, split small, about the size of your wrist. No softwood, which pops and coats your stone in resin. No lighter fluid, ever, unless you enjoy your rim tasting like a gas station. A chimney starter with paper underneath is all the ignition you need.
Step four: prove the temperature. Build the fire at the back of the box, keep it fed for 20 to 30 minutes, then read the center of the stone with an infrared thermometer. You're looking for a stone temp in the 700 to 800F range for a fast Neapolitan-style bake. If your oven tops out lower than that, you're baking rather than blasting, and that's fine, you just need a lower-hydration dough and a longer bake. What you don't do is trust the number printed on the box. Read the stone.
Step five: stage everything before you launch. Sauce in a bowl, cheese in a bowl, topping spoon in hand, peel floured. Once the oven is hot, every second the door is open costs you heat. Set up like a line cook, because that's what you are now.
Step six: dust, load, and launch in one motion. Flour the peel, lay the stretched dough on it, top fast, and slide it off with a short forward push and a quick pull back. The mistake almost everyone makes is a timid launch. A slow slide drags the dough and dumps the toppings into the fire. Commit.
Step seven: turn, don't stare. A pie in a properly hot wood oven bakes in roughly 60 to 90 seconds. Turn it every 20 to 25 seconds with the peel or a turning tool so the side facing the fire doesn't go from leoparding to black. Watch the rim rise, not the clock.
Step eight: rest it two minutes, then eat. The rim sets as it cools. Cutting immediately gives you a floppy center and a crust that tastes underdone even when it isn't.
Between pies: add a small split, close it up, and give the stone a few minutes to recover. Then read the stone again before the next launch. This is the step where a wood oven separates people who cook one pie from people who cook six.
Shutdown: let the fire die, let the whole thing cool completely, empty the ash, brush the rack, and only then cover it. Cover a warm oven and you trap moisture against the metal.
The ovens this guide is not about
There's a whole other half of the market that this workflow doesn't apply to, and it's worth saying so plainly. Countertop gas ovens and indoor electric ovens skip the fuel and the fire management entirely. They are the reason weeknight pizza exists, and for a Tuesday at 7pm I'd take one over lighting a fire any day. But the preheat logic, the stone temp reading, and the launch technique in this article carry over to them unchanged.
Built-in brick domes are the third category, and they're a construction project rather than a purchase, which puts them outside a how-to about a portable wood-fired box.
If you're shopping for one of those other categories, that's a different article. Today's job is a wood fire, a stone, and a peel.
What this all costs
Here's the cost structure rather than a number, since prices move and I don't quote them. The oven listing is one line, the cover is a second line, and those two together are your entire startup bill, because the stone and the peel come with the oven. Check current Amazon price on both before you commit.
Where people overspend is the accessory aisle. You don't need a laser thermometer, a turning peel, a pizza cutter with a titanium blade, and a dough docker to make a good pie. You need heat, a stone, a peel, and dough you've made ten times. A 48-hour cold ferment in your fridge will improve your pizza more than any $300 upgrade you can buy.
Cost per day is the honest way to look at it. A wood-fired oven that lives on a patio and gets used twice a month for three years costs you very little per dinner, and the cover that keeps it alive through the winter is the cheapest insurance in the whole setup.
That's the job. Get the stone hot, keep your hands fast, and expect the first pie to be a lesson. The second one is the one you'll remember.